
How to Choose the Best Condenser Microphone?
Choosing the best Condenser Microphone is not about finding the most expensive model. It is about matching the microphone to your voice, instrument, room, and recording goals. A bright microphone may add clarity to a dark vocal, but it can make a sharp voice uncomfortable. A warm microphone may flatter speech, yet lose detail on a quiet acoustic guitar. Small differences matter.
Recording engineer George Massenburg has described the microphone as “the first EQ in the signal chain.” This principle remains useful. The microphone shapes the sound before compression, equalization, or mixing begins. Listen for frequency balance, not impressive product descriptions. Check the polar pattern, self-noise, maximum SPL, sensitivity, and phantom-power requirements. A cardioid model can reduce room reflections, while an omnidirectional design may capture a more natural space. Your interface also matters. Weak preamps can hide the microphone’s detail.
Room quality often matters more than brand prestige. Place the microphone near a reflective wall, and harshness may appear around the vocal. Move it slightly, and the recording can change. Do not ignore distance. A few centimeters affect bass response through the proximity effect. There is no perfect choice. Even experienced engineers sometimes choose the wrong microphone after trusting specifications too quickly. That mistake is useful, if you listen carefully and adjust. This guide will compare practical features, common applications, and real recording conditions, helping you choose with evidence rather than excitement.
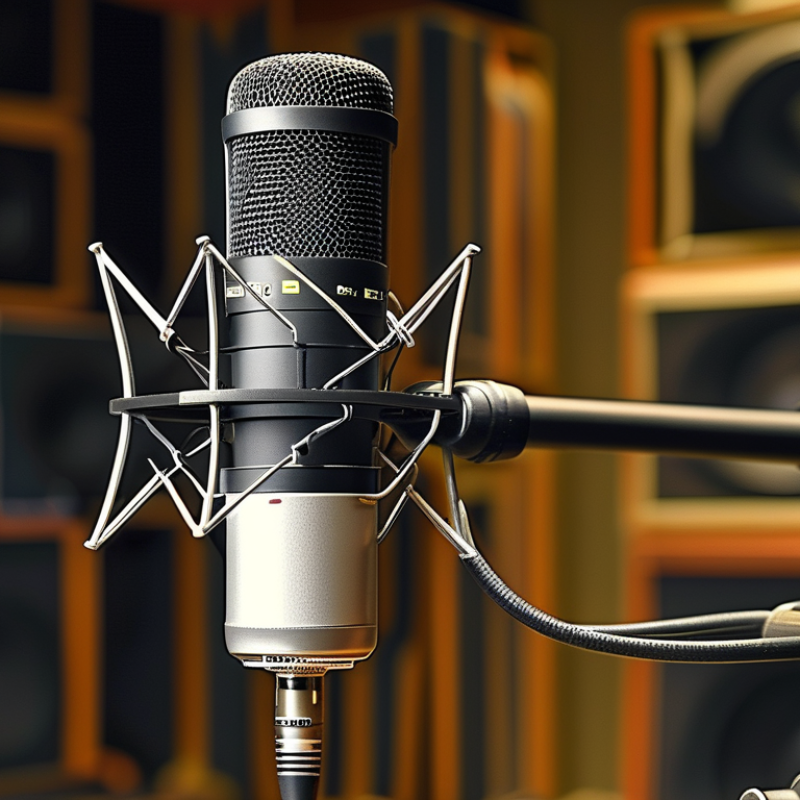
Define Your Recording Goals and Microphone Requirements
How to Choose the Best Condenser Microphone?
Define your recording goal before comparing specifications. For podcasting, prioritize clear speech, low self-noise, and strong rejection of room reflections. Edison Research’s 2024 Infinite Dial reported that 47% of Americans aged 12 and older listened to podcasts monthly. That audience rewards natural voices, not exaggerated brightness. For vocals, consider sensitivity, maximum sound pressure level, and proximity effect. A powerful singer may need more headroom than a quiet acoustic performer.
Your room matters as much as your microphone. A condenser model can capture detail, including keyboard clicks, traffic, and a bare wall’s harsh reflection. Record a short test beside your desk. Then move 30 centimeters away and compare the voice. Small changes can reveal more than a specification sheet. The International Federation of the Phonographic Industry reported that streaming generated 67.3% of global recorded-music revenue in 2023. Clean capture still matters, because compression cannot repair every noisy take.
Choose the pickup pattern carefully. Cardioid suits one speaker in a controlled position, while multi-pattern designs support interviews and room recording. Check whether your interface supplies phantom power and enough clean gain. I once selected a highly sensitive condenser for a reflective bedroom. The microphone sounded detailed, but the recording felt tiring. That choice was wrong. A less sensitive option, placed near soft furnishings, would have served the project better. Test the complete setup, not the microphone alone.
How to Choose the Best Condenser Microphone? - Define Your Recording Goals and Microphone Requirements
Use your recording purpose, room conditions, sound source, and equipment requirements to identify the most suitable condenser microphone profile.
| Recording Goal | Recommended Microphone Type | Pickup Pattern | Useful Technical Targets | Why It Fits | Important Requirements |
|---|---|---|---|---|---|
| Solo vocals in a treated room | Large-diaphragm condenser | Cardioid | Frequency response: approximately 20 Hz–20 kHz Self-noise: preferably below 16 dBA Maximum SPL: at least 120 dB SPL | Provides detailed high-frequency reproduction and strong sensitivity for capturing vocal nuance. | Use a pop filter, maintain a consistent distance of about 15–30 cm, and position the rear of the microphone toward major noise sources. |
| Voice-over, podcast, or spoken-word recording | Large-diaphragm condenser with controlled presence | Cardioid | Smooth midrange response Self-noise: preferably below 20 dBA Sensitivity: commonly around 10–35 mV/Pa | Captures speech articulation and vocal detail while allowing sufficient headroom for expressive delivery. | A quiet room is essential because condenser microphones are highly sensitive. Use an audio interface with clean gain and phantom power. |
| Acoustic guitar and other detailed acoustic instruments | Small-diaphragm condenser or neutral large-diaphragm condenser | Cardioid or hypercardioid | Extended response: roughly 40 Hz–20 kHz or wider Maximum SPL: at least 125 dB SPL Fast transient response | Accurately reproduces pick attack, string detail, and short transients without excessive coloration. | Experiment with microphone distance and angle. A higher maximum SPL rating is useful when recording close to the instrument. |
| Stereo recording of piano, ensemble, or room ambience | Matched pair of condenser microphones | Cardioid, omni, or selectable multi-pattern | Consistent frequency response between microphones Low self-noise: ideally below 18 dBA Good off-axis consistency | Two closely matched microphones provide a stable stereo image and more predictable left-to-right balance. | Choose a stereo technique such as XY, ORTF, or spaced pair. Room acoustics have a major effect on the final recording. |
| Drums, percussion, and loud amplified instruments | Small-diaphragm or robust large-diaphragm condenser | Cardioid, hypercardioid, or supercardioid | Maximum SPL: preferably 130 dB SPL or higher Fast transient response Pad switch: −10 dB or −20 dB preferred | Handles strong peaks while retaining attack and high-frequency detail. | Engage the pad when necessary, keep a safe distance from the source, and check that the preamp does not overload. |
| Recording in an untreated or moderately noisy room | Condenser with controlled off-axis response, or a dynamic alternative | Cardioid or supercardioid | Low sensitivity to room reflections is preferred Self-noise is less important than room noise control Strong rear rejection | A directional microphone can reduce some unwanted sound, although it cannot completely remove room reflections or background noise. | Improve the room first with absorption, soft furnishings, and a quiet recording position. Avoid choosing a highly sensitive omni pattern. |
| Natural room, choir, or orchestral capture | Omnidirectional condenser or selectable-pattern condenser | Omnidirectional or wide cardioid | Flat low-frequency response Low self-noise: ideally below 15–18 dBA Wide, consistent off-axis response | Omnidirectional designs can produce an open, natural sound and capture room ambience without proximity-effect bass buildup. | Use only in an acoustically suitable space. Omnidirectional microphones provide little rejection of environmental noise. |
| Flexible studio work with multiple sources | Selectable multi-pattern condenser | Cardioid, omni, figure-eight, and intermediate patterns | Multiple polar patterns Maximum SPL: approximately 120–140 dB SPL Pad and high-pass filter preferred | Pattern selection allows one microphone to adapt to vocals, instruments, stereo techniques, and room capture. | Confirm that the microphone offers the required controls and that its power supply or interface supports the selected operating mode. |
| Close-miking bass-heavy sources | Condenser with a high-pass filter and sufficient headroom | Cardioid | High-pass filter: commonly 75–100 Hz Maximum SPL: at least 125 dB SPL Pad switch recommended | Filtering and headroom help control excessive low-frequency energy and sudden peaks from close placement. | Use the high-pass filter carefully; do not remove useful fundamental frequencies from the instrument or voice. |
| Portable or computer-based recording | USB condenser microphone or compact XLR condenser | Cardioid for focused recording | USB: 16-bit/44.1 kHz is adequate for basic production; 24-bit/48 kHz provides more editing headroom XLR models require 48 V phantom power | USB models simplify setup, while XLR models provide a more upgradeable signal chain and broader interface compatibility. | Check connector type, monitoring options, driver compatibility, gain control, and whether the microphone needs external phantom power. |